Ladies and Gentlemen, START YOUR SEEDS!
Imagine planting seeds in the ground in March and having a harvest of cold weather veggies by Easter! If you have hoop houses it is worth a shot!
I live in Minnesota, so I am just now getting things ready to start my seedlings for planting in May and June. However, our weather forecast is saying that by the end of the week we will be in the 50’s with over night temps above freezing! This is a lot like the weather we had all through November last fall. Every year the sun in March is as strong as it is in October, we usually just have a lot of snow pack which keeps things cold until that all melts in April. Normally the *end* of April. Not so this year! (We are in a major drought so let’s see what this summer is like after hardly any snow this winter!)
So, all you folks who know that I had salad greens and cold weather veggies alive and well into November can guess what I am going to be planting now. I have gotten my hoop houses ready for planting. And I am going to use my new remote thermometer to measure the temps (it actually records them!) over night and during the day.
I first used the hoop house/raised beds last spring and had salad greens and radishes very early in the season! In fact, the first day they were all ready and I did my transplants I nearly burnt everything to a crisp! It got to be over 100 degrees in the houses and the outside temp was 45 or something! Overnight temps were not quite above freezing but that did not matter.
So, if you have hoops, or if you were thinking of building some, now is the time!
This week I will be planting:
- Radishes
- Spinach
- Cabbage
- Other Misc Salad Greens
I am also going to check out my onion bed and see how it’s doing. Cover it and see if I can get them to start growing sooner this season. I am also creating/building another onion bed farther in the sun light and see if that makes them plump up faster. I have large yellow onions and I haven’t been able to get them larger than a racket ball yet. 🙂
So! Start your seeds
Please come on back and share your stories and comments below or in our forum. (A lot of my friends email me directly after reading an article here, but it would help me a lot if you posted a comment directly on the site somewhere and I will answer it here and send you an email as well!)
Thank you!
 The Winter Harvest Handbook, Year-Round Vegetable Production Using Deep-Organic Techniques and Unheated Greenhouses, by Eliot Coleman is a very detailed and exhaustive look at winter greenhouse gardening in zone 5. I am loving the look of the greenhouses on page 64, with snow piled up around the bases of a few large greenhouses!
This book not only talks about traditional greenhouse structures in winter and how to utilize them, but many other alternative ways of gardening in the winter time. Good tips on which vegetables to grow, pest control (different season = different pests!), and garden tools are peppered liberally through out the entire book.
This is an EXCELLENT companion to Carol and Chuck’s Winter Greenhouse book.
I look forward to using both books this Spring/Summer and into next Fall and Winter as I take on the adventure of building and using my own greenhouse in the winter in zone 4/5!
Posted by Sara | Posted in Outdoor Gardening | Posted on 10-01-2012
If you haven’t heard, here in Minnesota we are experiencing some seriously warm weather for this time of year. Last week and this week typically being our coldest weeks of the entire month temperatures have reached the 40’s more than a few times and as I type this to you now it is 50 degrees!
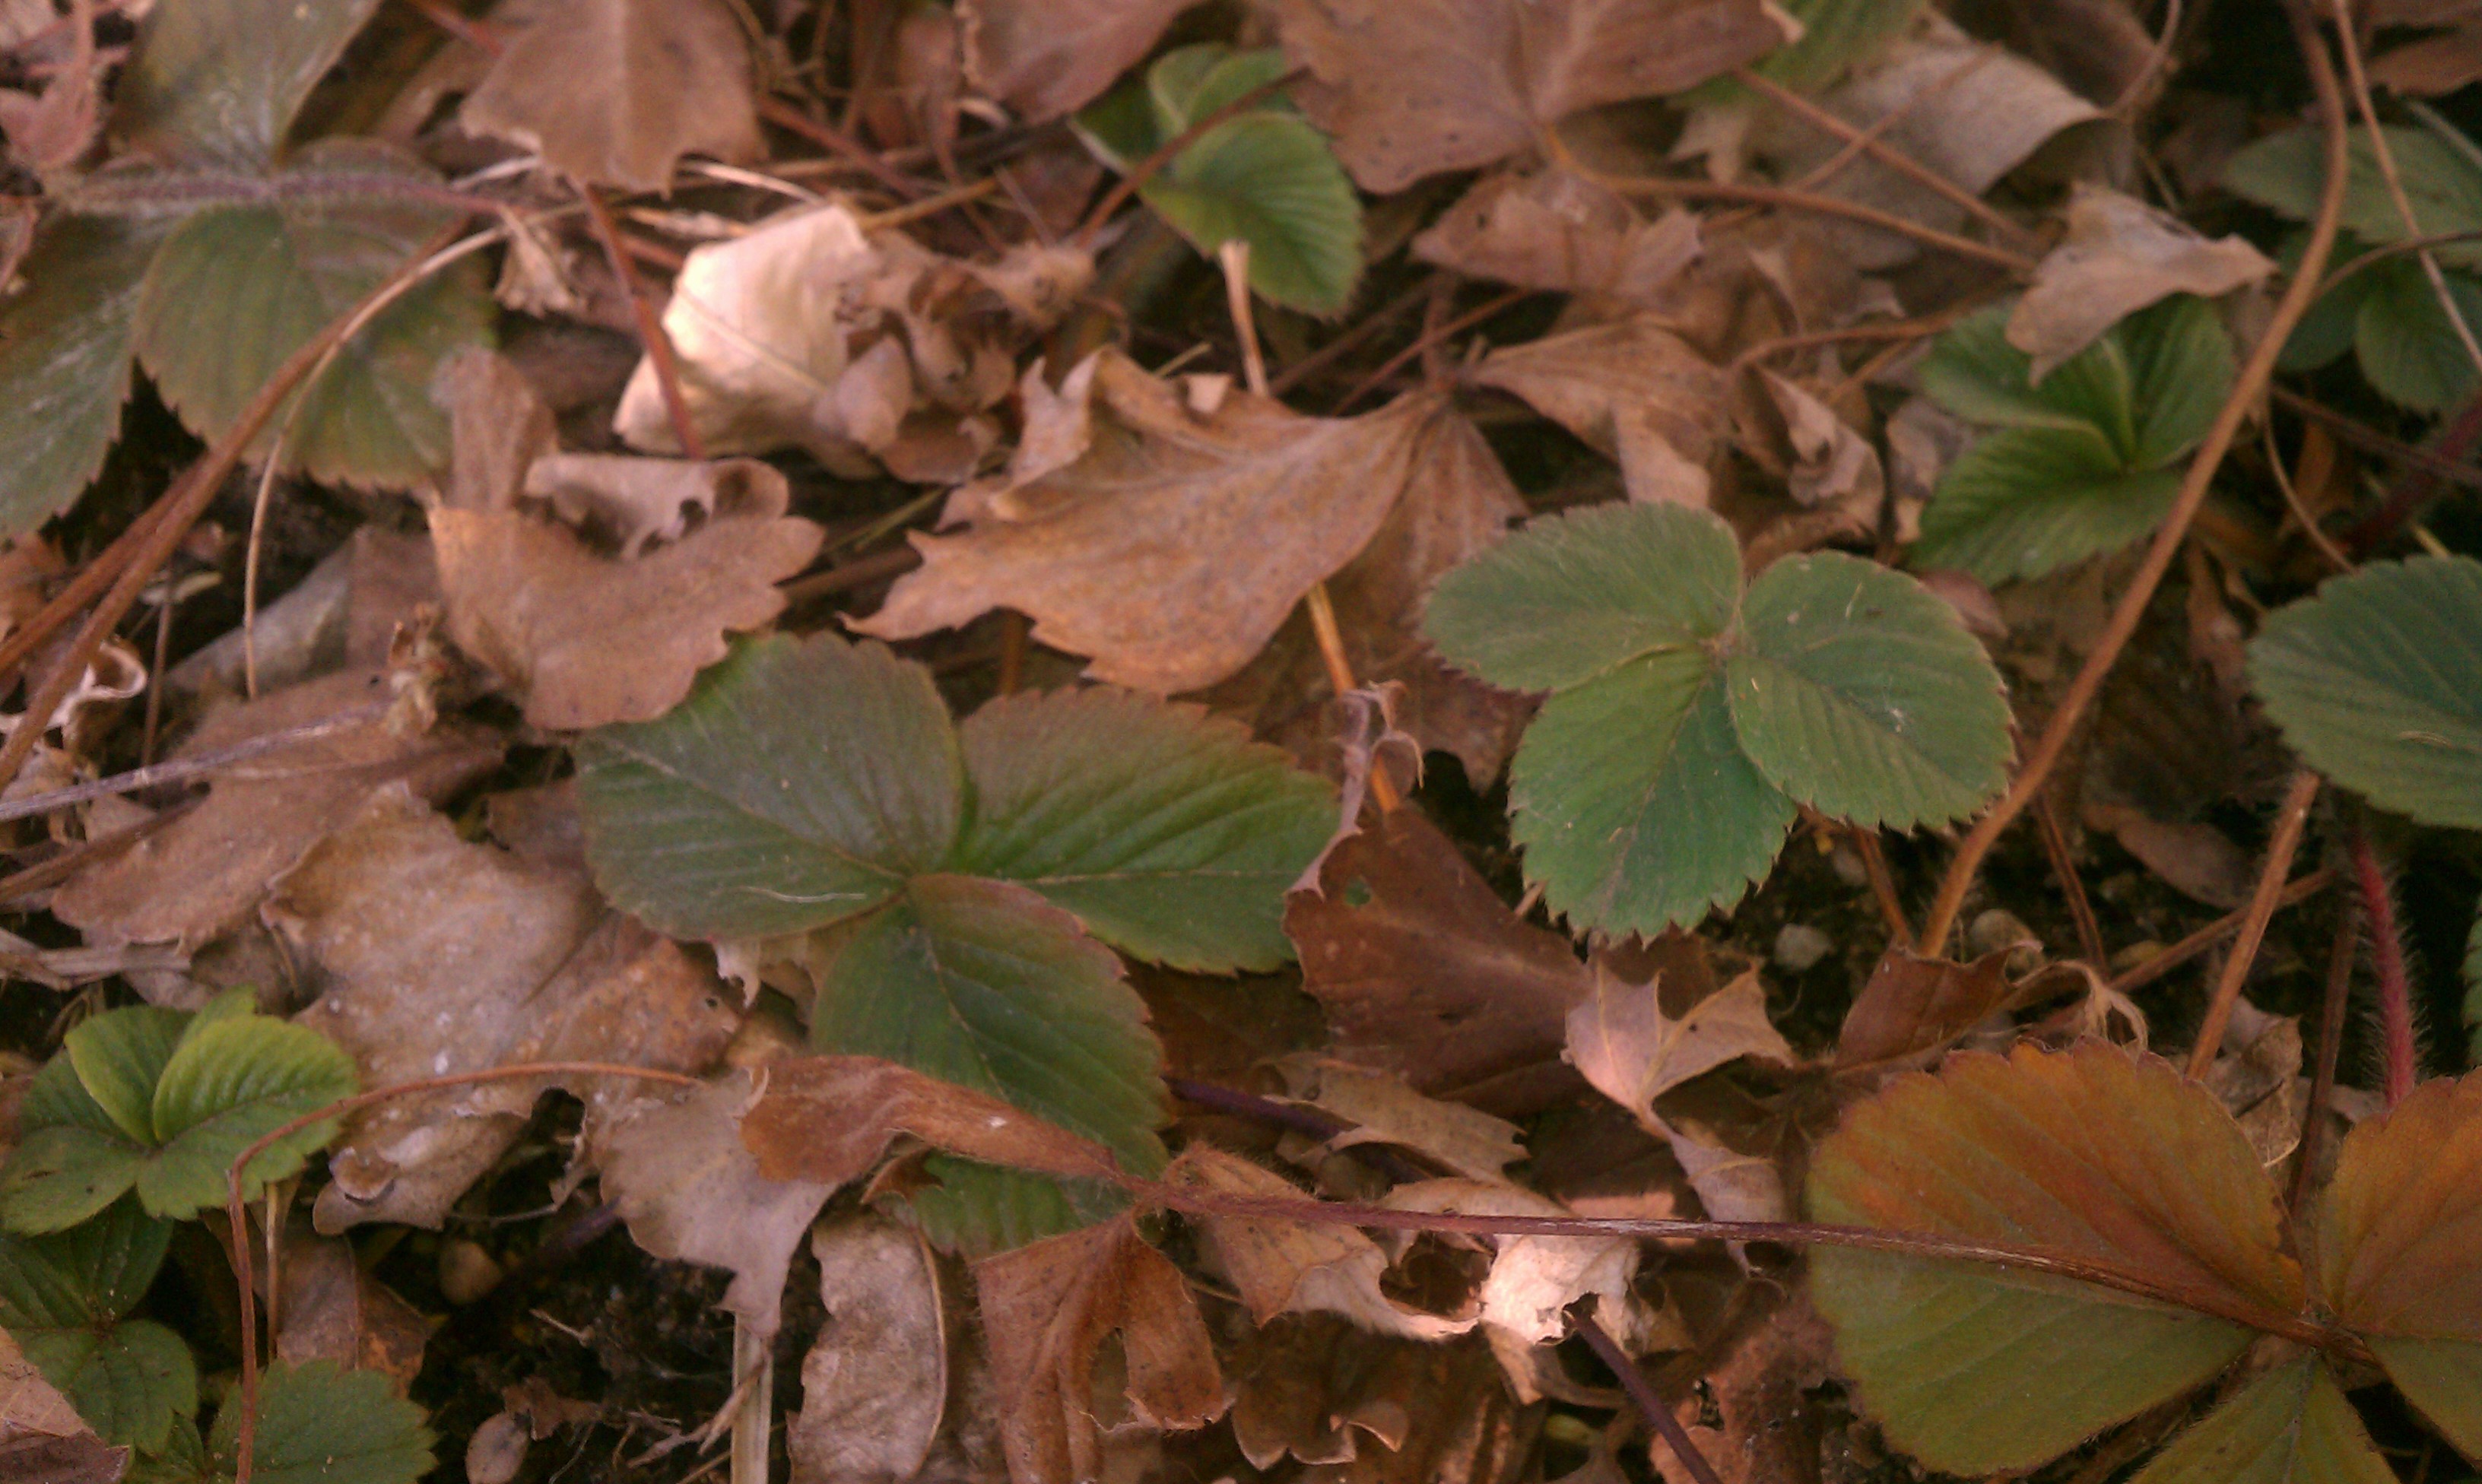
I had to go out to the garden to show you what’s happening out there. Things are ALIVE and growing. Albeit slowly my salad greens, strawberries, onions and carrots are alive and growing right now in the middle of winter.
Keep in mind when you read this that last year these same beds were under a few FEET of snow, and it was so cold you could not breath well without something covering your mouth. I did not tend these beds or intend for these plants to be well now. I just went out to see if anything was happening after seeing that a friend of mine harvested salad greens after Christmas! (Needless to say, I will be starting salad and radish seeds inside now and covering these beds just to see if I can get a pre-Spring harvest!!)
New baby strawberry plants green and soft. Uncovered, in ground.
Carrots still green in January - uncovered raised bed.
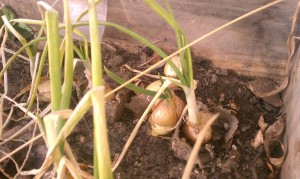
Onions growing in January 2012 - semi-covered raised bed.
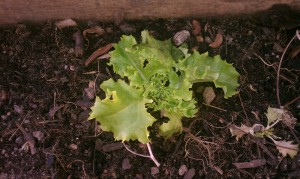
Lettuce in January 2012!! Semi-covered raised bed.
 I am so excited because I just read this great book. I highly recommend it to anyone looking to have a permanent greenhouse in zone(s) 4/5. They do use some supplemental heat and a small amount of electricity in the coldest/darkest months. Their greenhouse employs many innovations for keeping it’s cost and carbon footprint to a minimum and returning a yield of winter crops for 18 families in their winter CSA!!!
Watch for future posts where I will be visiting their greenhouse, and making plans to build my own this Spring/Summer!
I’ve been out of touch recently, but I’m back in 2012 with new inspiration!
I have found a few great resources about winter gardening in Minnesota! Can you believe other people are as crazy as I am? 🙂
After my little plastic greenhouse got ripped apart by all the wind we’ve been having this Fall/Winter I was inspired to look into building a permanent structure. I went to my local building store and looked at their shed kits/structures and greenhouse poly/plastic sheeting and corrugated sheet metal and recycled material. It was very exciting and totally do-able.
But NOW; An even better solution has come into focus from a link shared on facebook. (Thank you Lara!!!!) A couple in Minnesota started a solar powered organic winter greenhouse. It grew into a winter CSA which now provides organic veggies to 18 families all winter long!!!
What’s more is that they are very nice, and will support anyone who wants to try to do what they did, AND they wrote a book all about it. What better way to pass this winter than learning how to garden year-round starting this Spring??
The book is titled, Northlands Winter Greenhouse Manual, by Carol Ford.
While searching for this book I also found, The Winter Harvest Handbook, by Eliot Coleman.
Both are about sustainable organic winter greenhouse gardening. Watch for more posts as I read and review these books and start planning my permanent greenhouse project this Spring.
I could not be more excited and I am so grateful that I found these books/resources before I went ahead and started my own pioneering project with this. I will be leaps and bounds ahead of where I would have started out with all this.
Who wants to by in my Winter CSA??? 🙂 (I am only half kidding.)
Powdery mildew peaks in the fall when temperatures are cooler, the sun’s heat and light is more moderate and less direct, and humidity is still high. The amount of dew that forms during the fall is a lot more than in summer months due to the temperature crossing the dew point at a very low place. This happens in the dark, and we all know fungi love dark and wet so, Fall is it for the fungus to go nuts!
Plants with large broad leaves are susceptible. Such as lilac bushes, roses, cabbage, and broccoli.
There are a few organic methods of protecting against powdery mildew. Here are a few:
- Make a spray with water and baking soda and spray plants early in the day (***on an over-cast day so that this recipe doesn’t burn your foliage***) so that the leaves are dry before the cool night temperatures come. Here’s a good recipe:
- 1 gallon of water
- 1 tablespoon of baking soda
- 1 tablespoon of vegetable oil
- 1 tablespoon of dishwashing liquid
This will protect the parts of your plant that have not been infested yet and is preventative only.
- Neem Oil – apply 70% Neem Oil in mid-summer to prevent, once weekly. If you see some powdery mildew you can start applying it then.
- Spraying your foliage with tap water from the garden hose at a medium to hard pressure. Summer rains/storms and wind plus direct sunlight keep the powdery mildew from forming in the summer months. So you can re-create some of that in the Fall by spraying plants. Make sure you do this in the morning so the plants are dry by night fall.
You will see a white film coating the top of the leaf. It will be very transparent at first, but as it takes hold it will become more white and apparent. Start treating the plant with one or more methods above immediately in order to save the plant.
Once powdery mildew is present you cannot effectively get rid of it with organic methods. You must remove that part of the plant and GET RID OF IT completely. DO NOT COMPOST! Toss it in the trash! If a large portion of the plant is covered your best bet to contain it, and save other plants from this fungus is to uproot it completely and get it off your property as soon as possible.
This fungus can over-winter in your plant and come back stronger as soon as conditions allow it to start replicating again! Horrible stuff!!!
My 3 year old lilac bush got it last year and I treated it with a baking soda spray. It stopped it from spreading but it had already covered many leaves which were turning yellow and dropping off! I did not know it could survive the winter and come back again or damage the internal plant. The next season the leaves were all strangely shaped and it did not flower. So, I chopped it down to the ground in the hope that some part (the strongest part) would survive and come back as a new baby lilac plant. (I’ll let you know how that goes in the Spring of 2012!)
Good luck with your Fall clean up! It’s time to start your herb seeds indoors if you want nice organic herbs at your finger tips all winter long! You saved some seeds from your cilantro, basil, oregano and thyme plants right?? 🙂
Posted by Sara | Posted in Outdoor Gardening, Recipes | Posted on 17-09-2011
For those of you wondering what the heck to do with all the green tomatoes you harvested look no further! If your counter is cluttered with tons of green tomatoes because you had a recent frost warning this is a great way to use them up!
| Green tomato salsa by the quart |
| Ingredients |
Directions |
|
|
For other amazing green tomato recipes please visit http://www.bostonplus.com/tomato.htmlCombine the green tomatoes, onion, chili peppers, garlic, salt, cumin, olive oil, and water in a large pot. Bring to a boil and cook covered on a medium-low heat for ten minutes, stirring occasionally. Add more water only if needed to maintain the most minimal broth.
Stir in and simmer for an additional five minutes the lemon zest, lemon juice, sugar, and cilantro. Taste the mixture and adjust the seasoning, if needed, by adding more lemon juice, honey, and/or salt, to taste.
Spoon the mixture (in batches if necessary) into the container of a food processor or blender and pulse until the salsa reaches the consistency you prefer.
Label your freezer bags and fill them half full and freeze. Should make 4-6 half full sandwich bags. |
- 1 onion
- 1 medium heat pepper (Anaheim)
- 1-3 Jalapeno peppers
- 3 Cloves Chopped Garlic
- 1 tsp Salt
- ¼ tsp Ground Cumin
- 1 TBSP Olive Oil
- 3 TBSP Water
- ½ tsp Fresh Lemon Zest
- 1 TBSP Lemon Juice
- 1 tsp Sugar
- 1/3 Cup Cilantro
- Sandwich Size Freezer Bags
|
|
|
|
|
|
|
|
|
|
|
|
|
|
Looking for more awesome Harvest Recipes? Check out my recent book for free here!
Watering your garden when there might be a frost seems a little backward, but it will protect your plants.
A healthy well-watered plant will do better than a weaker, drier plant will in cooler night time temperatures. You don’t want the plant to be wet, but you want the Earth to be nice and damp when nightfall comes.
All of the processes that the plant uses to take in water and create food for it’s self take energy. When the plant uses it’s energy to take water and create food it releases a small amount of heat. So a plant that is undergoing this process is slightly warmer inside than a plant that is sitting there doing nothing but drying out.
So water your garden early in the day, and allow the plant’s leaves to be dry by nightfall and you should have some added protection against cooler nighttime temperatures.
Happy Autumn!
Sara
When a frost is coming it is important to know which vegetables to harvest first and how to get the most out of your garden at the end of the season, or try to extend it further into the season.
Warm-weather vegetables should be considered first. If frost is a “maybe” you can harvest all the food, and then try covering the plant to save it. If frost is “for sure” you can harvest the food and then in certain cases there are things you can do to still get the vegetables to ripen on the vine, or to get the seeds from the plant even though the vegetables are still immature.
Here is a list of vegetables that will go very quickly in even a light frost:
- Basil (especially sensitive)
- Cilantro
- Tomatoes
- Squash
- Peppers
For each of these you want to harvest ALL the usable plant and vegetables.
If you have all green tomatoes and you were hoping to save seed (which should be taken from 100% ripe fruit) uproot the entire plant and find somewhere to hang it. The plant will die but the tomatoes should still ripen (better and faster than on your counter but that will work too) and you can gather the seeds after they turn red.
To save seed from cilantro and basil if it isn’t ready yet: If there are seeds but they are still green uproot the entire plant and hang upside down until the seeds turn brown and very dry for cilantro and black for basil. You can then save the seeds for next year.
Vegetable plants that might survive, or at least do a little better in a light frost:
- Peas
- Lettuces and Cabbages including Broccoli
- Carrots
- Onions, and other leeks like Fennel
- Certain kinds of green beans/beans
Carrots and onions can even be left for next season and will just start right up growing again next year if you simply leave them in the ground.
Happy Harvesting!!!
-Sara
For more helpful information about all kinds of vegetables check out my Seed-To-Seed Book Club. Get a free gardening book in your email each month for a year!